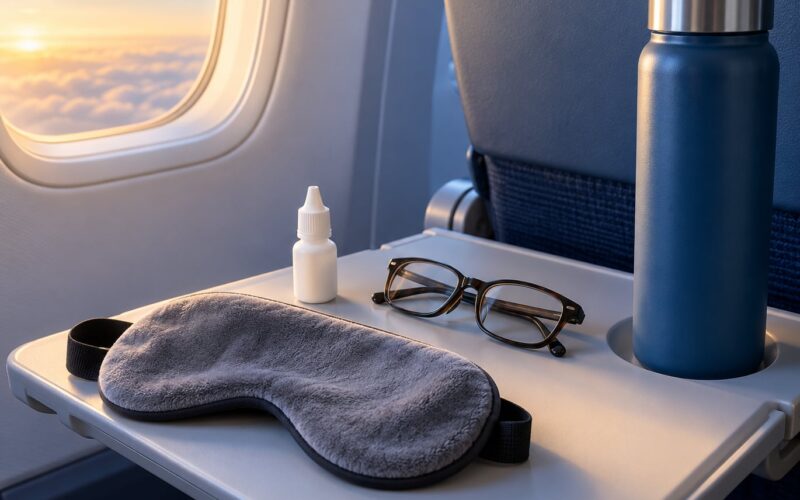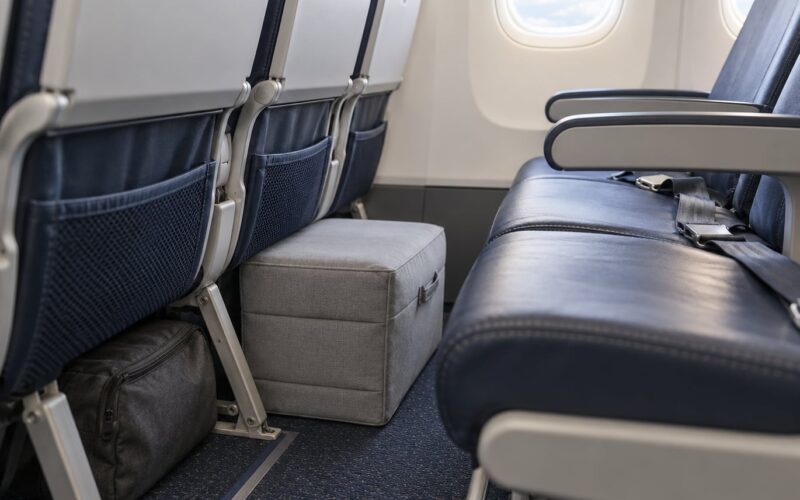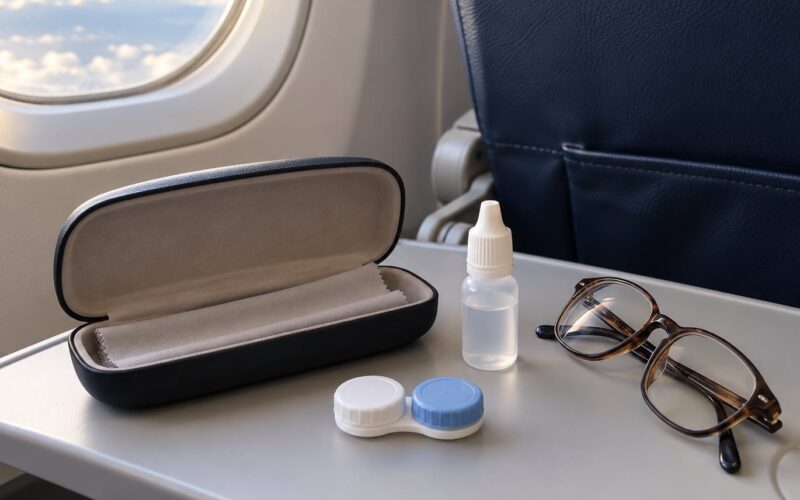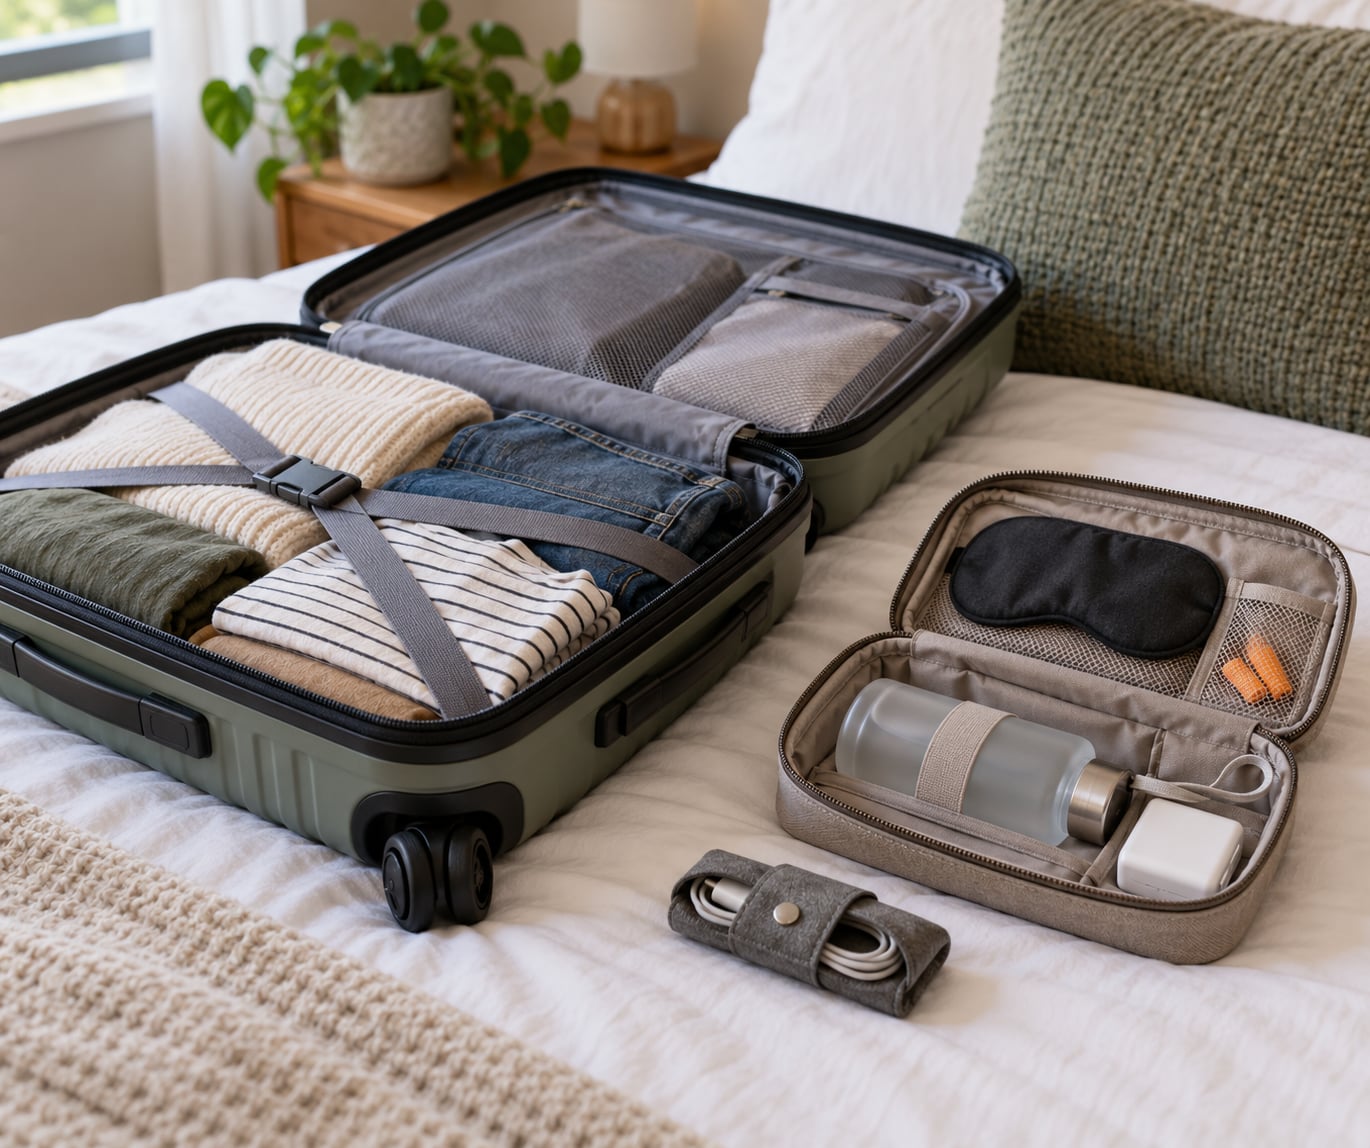
A long haul comfort kit is a small, self-contained set of sleep, health and power items packed where you can reach them without digging through a bag at 38,000 feet. Knowing how to pack a long haul comfort kit takes about 20 minutes once you know your flight details, and it is the difference between a red-eye you sleep through and one you spend staring at the ceiling.
The trick most packing guides miss is structure. A flat list of 30 things in an overhead bin is the same as no list at all, because you will not find the eye mask at hour nine. So this guide walks through the categories, the container, and the order, then finishes with the mistakes that ruin kits.
If you fly often, you already own most of the gear. What you are missing is the packing system, which is why the order of this guide matters more than the shopping list.
Table of Contents
- What You Need
- Step-by-Step: How to Pack a Long Haul Comfort Kit
- 1. Start with the route and cabin
- 2. Choose a compact container
- 3. Add sleep and temperature essentials
- 4. Build the hydration and health pouch
- 5. Pack device and entertainment support
- 6. Personalize for your body and trip
- 7. Test, label, and prepare a backup
- Common Mistakes
- Quick Packing Tips
- Frequently Asked Questions
- What should I put in a long haul comfort kit?
- Can I take a comfort kit through airport security?
- Is a travel neck pillow worth packing for a long flight?
- What is the best size for a long haul comfort kit?
- Should I bring different comfort items in business or first class?
- Conclusion
What You Need
The kit works because it front-loads the three things that ruin long flights: sleep, dryness and stillness. Everything in it falls into one of those buckets.
Sleep: a blackout eye mask, earplugs or noise-canceling earbuds, and optionally some form of neck support. A lightweight layer or a blanket scarf belongs here too, because cabins run cold at night even when the departure airport is warm.
Hydration and circulation: an empty refillable bottle, electrolyte packets, lip balm, and a plan to stand up and walk at least once an hour. Compression socks fit here if you want them, and they take up very little space rolled up.
Ear and eye comfort: earplugs handle the engine drone and the crying baby three rows back. Chewing gum or swallowing during descent is the simple fix for the pressure in your ears on landing.
Device support: one charging cable that covers your devices, a power bank, a small adapter if your headphones use a 3.5mm jack, and media downloaded to your device before you leave home.
Health and personal care: medication you take regularly, tissues, hand sanitizer where it is allowed, and anything specific to your body or your trip.
Security: your passport, boarding pass, and a copy of anything you would hate to replace. The flight-attendant habit worth copying is giving these their own labelled pocket so they never end up in a different bag than the one you reach into at the gate.
Some of this you buy, some you already own and reuse, and some you do before departure rather than pack at all. Downloaded films, podcasts and a playlist are the biggest item in the kit and they weigh nothing.
Before you choose any of it, check what your airline and your departure airport actually allow. Liquids over 100 milliliters generally have to be purchased after the security checkpoint, spare lithium batteries belong in the cabin rather than in checked luggage, and anything sharp or considered a weapon stays home. These rules differ by country, so look them up for your specific route rather than assuming.
Step-by-Step: How to Pack a Long Haul Comfort Kit
1. Start with the route and cabin
Open your booking and write down four numbers: total flight time, whether you will be awake for most of it, how long the connection is, and what the seat offers. That is your whole shopping list, because every item you add has to earn its space against those facts.
Cabin class changes the arithmetic a lot. In first and business class, a mattress, a duvet and a seatback screen already exist, so your kit is mostly earplugs and a charger. In economy, you are replacing every one of those things yourself, so the kit gets heavier and the list gets longer.
Check whether your aircraft has seatback power, because plenty of outlets are dead or shared one per row. Assume the answer is no, and treat working power as something you bring. If your airline lists blankets and pillows as long-haul amenities, notice that economy availability is inconsistent, so pack your own layer anyway.
Done when: you can say, in one sentence, what this specific flight asks of you. A 16-hour daytime leg with a 3-hour layover in it asks for very different things than an 8-hour overnight hop.
2. Choose a compact container
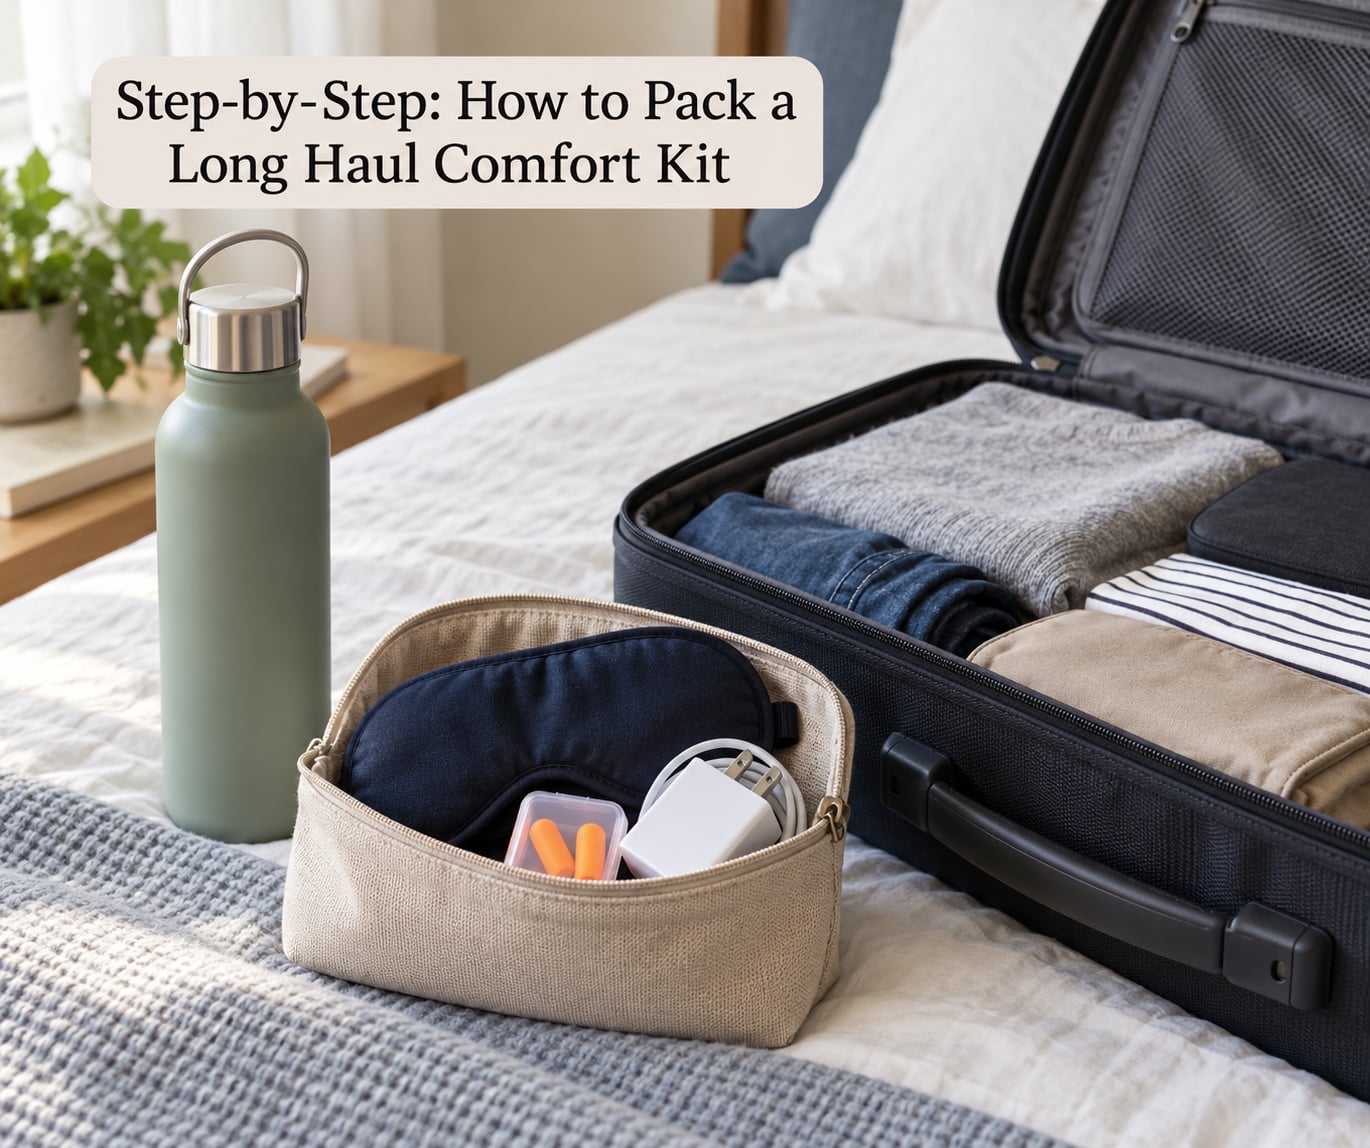
A small zip pouch is the best default. It is flat, it seals shut, and it slides into the gap between your personal item and your seat. A dedicated personal item is better if you want room to spread out, but it eats your allowance for clothing. A lightweight drawstring bag is the least structured option and works only for soft items, since anything hard will find the opening.
Whatever you choose, the closure matters more than the fabric. A kit that spills open halfway down the aisle is worse than one in a zip pouch, because you will spend the rest of the flight wondering where the earplugs went.
Make sure the container fits whatever your airline allows as a personal item, and keep the whole thing light enough that you are not tempted to check it. If you do have to check a bag, the kit still needs to come with you into the cabin.
Done when: the closed container fits inside your personal item without crushing anything, and you can describe where it will sit during the flight.
3. Add sleep and temperature essentials
Start with the eye mask. A contoured mask that blocks light around the nose beats a flat one, because the nose is where light actually leaks in on most flights. Then add earplugs, and if you can manage the extra bulk, earbuds with noise cancellation.
On earplug type: foam earplugs are the cheapest and work fine, while wax earplugs usually stay put better through a long flight. Both appear constantly as top recommendations in r/travel long-haul threads, which tells you the cheap option works.
Neck support is optional and honestly debated. Forum travelers frequently report that the inflatable horseshoe pillows are uncomfortable and take up more room than they earn, and a window seat with a wall to lean on solves the same problem. If you do want support, keep it uncompressed in the pouch, because a squashed pillow that has to spring back mid-flight is no pillow at all.
Skip bulky bedding. A puffy jacket or a merino layer packed flat does more for you than a blanket that fills a third of the kit, and it is still useful on the ground after landing.
Done when: the sleep group fits in one hand-sized bundle, and you can lay your head in any direction without rearranging it.
4. Build the hydration and health pouch
The bottle goes in empty. This is the single most repeated piece of advice in flying forums, and the reason is simple: an empty bottle passes security and gets filled at the tap on the other side. Travelers commonly aim for roughly a litre per two to three hours of flight time, adjusted for their own health and the doctor’s advice they have already been given.
Add electrolyte packets to that pouch, along with lip balm and tissues. Cabin air is dry enough that chapped lips are close to universal, and a tissue box is a genuinely useful thing to have when you are not next to a lavatory.
Hand sanitizer is permitted in most airports but not all, so check your route. Regular medication goes in the cabin with you, in the original packaging, and it is worth a second copy in your checked bag if you are checking one.
Move on if you are told anything medicinal needs a prescription label or a doctor’s note. That is an airline and country rule, not a personal preference, and it is much easier to sort out at home than at a check-in desk in a hurry.
Done when: everything in the pouch is permitted, nothing is over 100 milliliters, and your regular medication is in your hand luggage rather than in a suitcase you cannot reach.
5. Pack device and entertainment support
Bring one cable that covers your main device, plus a second short cable in case the first fails. This is the item people always regret not packing twice, because a dead phone with no cable is a flight with nothing to do.
For power banks, check your airline’s current rules, which cover capacity, terminal protection and whether you can use the bank at the seat. A modest bank that complies is a better choice than a large one you cannot board with.
Download everything before you leave the house. Overhead wifi is expensive and slow, and seatback entertainment is often the wrong content or not working at all. Two downloaded films, an audiobook and a music playlist take up no bag volume and no seat weight allowance.
Add your headphones and, if they have a 3.5mm jack and you prefer wireless, a small transmitter so you can use them without a cable. Keep a little slack in the cable loops rather than wrapping them tight, because a hard crease is where a cable fails.
Done when: you can charge every device you own from the kit, and your entertainment works with the wifi switched off.
6. Personalize for your body and trip
This is where a kit stops being generic. Compression socks are the most repeated recommendation in flying communities, usually paired with cheap slip-on slippers, and the reason is circulation on long seated stretches. They roll down to almost nothing in the pouch.
Add whatever your body tends to complain about. Glasses and a spare prescription. Menstrual care items. Allergy relief. Motion sickness supplies. A small foot-massage tool if you like one. A second mask if you share the seat with a child, or a device holder if the tray table in front of you has a screen in an awkward position.
Two honest warnings. Do not try a sleep aid for the first time on a long flight, since you will not know how it interacts with tiredness, alcohol or a bad night before it. And if you have a condition that affects circulation, swelling or breathing, ask your doctor before the trip rather than reading it here, because general comfort advice is not a substitute for their guidance.
Done when: you can name the three items in this group that are specific to you, and each one is there for a reason you could say out loud.
7. Test, label, and prepare a backup
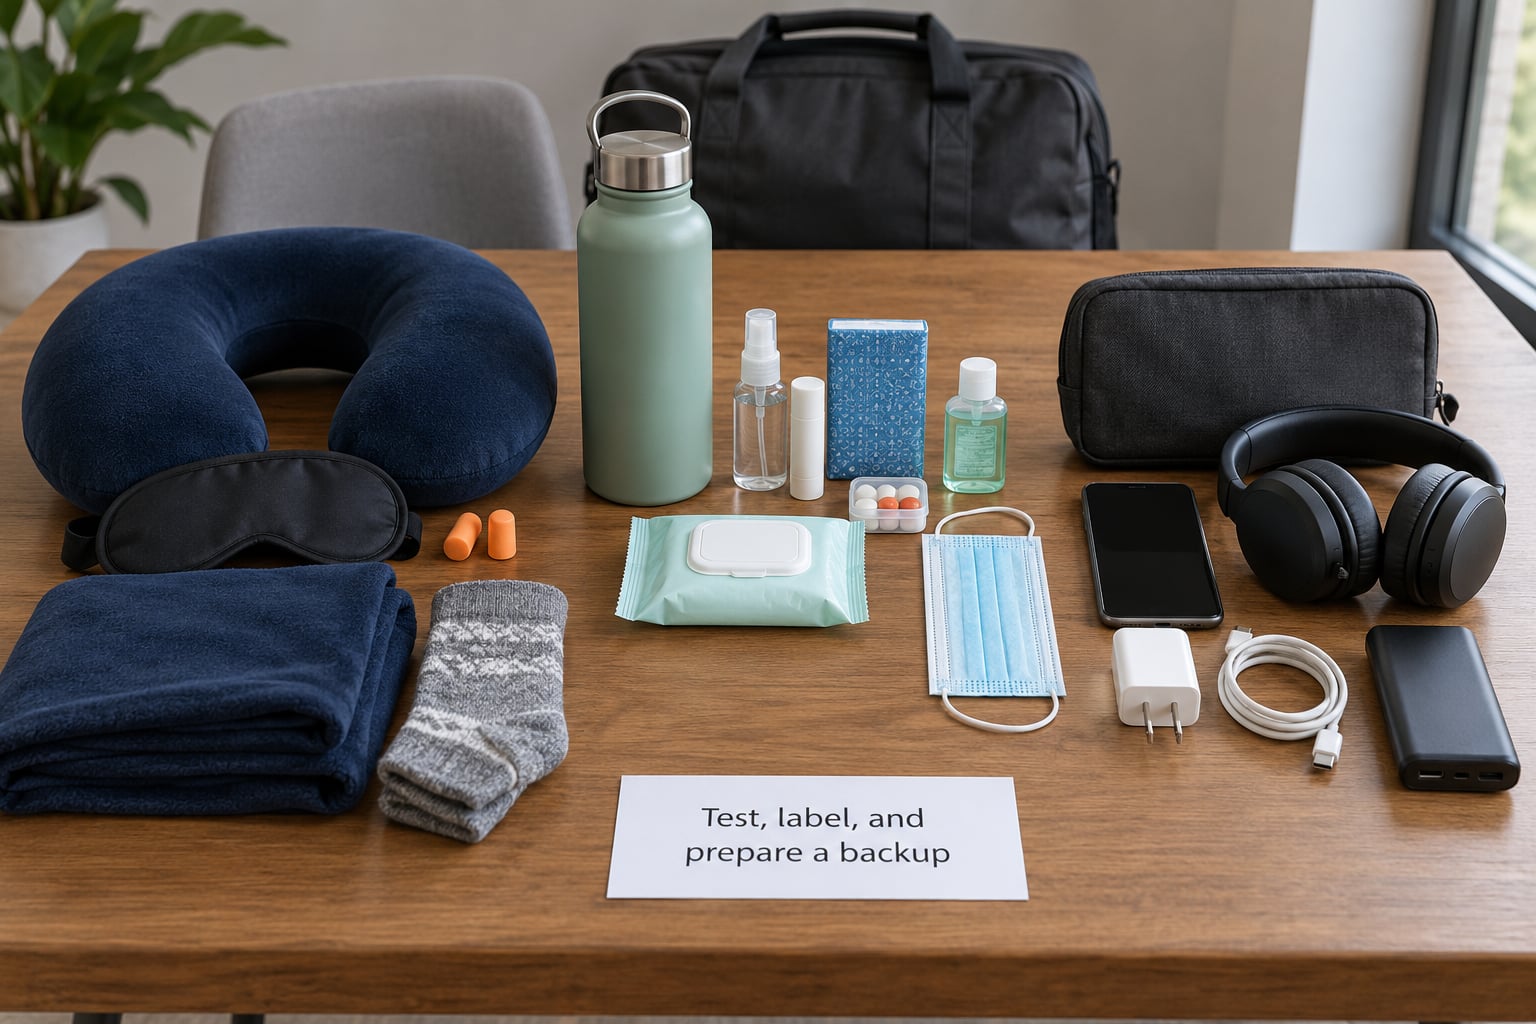
Lay the whole kit out on the floor a few days before you fly and use it. Put the eye mask on, plug your phone into the cable, check that the mask actually blocks light. This catches the dead cable and the useless item while you can still replace them.
Pack in reverse order of use. The things you need during the descent go on top or nearest the opening, and the things you only need at the end go at the bottom. Group by pouch rather than by bag, so that a single zip pulls out a complete task instead of half of one.
Label the outside of the pouch with what is inside. It sounds excessive until you have emptied a handbag at security and tried to remember which of the identical black pouches held the cable.
Then split the kit. Power bank, medication, documents and valuables stay in the cabin with you no matter what. Clothes and anything you can buy again go in a checked bag, or get lighter, if that suits the trip.
Done when, and only then, is the kit ready:
- Route, seat and layover details written down somewhere you can check at the gate.
- Bottle empty, liquids within the size limit, nothing sharp or restricted in the pouch.
- One cable per device, plus a spare, tested at home.
- Power bank compliant with your airline’s current rules.
- Films, shows, books and music downloaded and playable offline.
- Sleep items loose, not compressed, at the top of the pouch.
- Medication, documents, power bank and phone in the personal item.
- Fresh clothing in a carry-on for the arrival, not buried in checked luggage.
- Kit within arm’s reach once seated, with a plan to stand up and walk at least hourly.
Common Mistakes
Packing the kit but not the structure. Everything ends up loose in an overhead carry-on and becomes unreachable. The fix is a labelled pouch in one fixed spot that you use the same way on every flight.
Overpacking. A kit that fills half the bag means the clothes suffer, and the extras you will never touch come out first. Bring one version of each item, and cut anything you cannot name a use for.
Full-size liquids. Toiletries over 100 milliliters get confiscated at the checkpoint, which usually means buying them on the other side. Travel sizes go in the pouch, empty, and you fill what you can afterward.
Bulky bedding and footrests. A blanket or inflatable footrest turns a small kit into a large one, and footrests are awkward to inflate in a seat row. A flat merino layer earns the same warmth in a fraction of the volume.
Unprotected cables and untested gear. A coiled cable bent tight inside a bag cracks, and a mask or pillow you have never used may be useless. Test both at home and loop cables loosely.
Assuming seatback power will work. On many aircraft the outlet is dead, shared or in the wrong place. Bring your own charged bank and treat onboard power as a bonus rather than a plan.
Trying a new sleep aid mid-flight. You will not know how it sits with an unsettled night. If you intend to use something, try it at home first, and check with a pharmacist or doctor if it is a prescription or if you take other medication.
Quick Packing Tips
Let the flight time decide the size of the kit. An 8-hour leg needs a solid sleep setup and little else. Past 12 hours, add circulation and hygiene items, because you will be in the seat far longer than you expect.
Refill the bottle at the first fountain past security, then top it up each time you stand up. That hourly walk is the cheapest circulation help available, and it beats sitting still for ten hours.
Keep a little space in the bag. You will come back with more than you left with, and a full bag on the way home is an uncomfortable way to spend the last hours of a trip.
Take the kit out first when you land. Fresh clothes, chargers and medication go on top of everything else in the bag so you are not unpacking on a hotel floor at midnight.
Frequently Asked Questions
What should I put in a long haul comfort kit?
A long haul comfort kit needs four groups: sleep items such as a contoured eye mask and earplugs or earbuds, warmth such as a flat merino layer, hydration and health items such as an empty refillable bottle, electrolyte packets and lip balm, and device support including one cable per device, a compliant power bank and downloaded media. Add compression socks, medication and a spare pair of glasses if they matter to you. Pack it all in one labelled pouch you can reach without unpacking.
Can I take a comfort kit through airport security?
Most of it passes, as long as you respect the liquid rules. Bottles and toiletry containers must be 100 milliliters or less and fit in a clear bag, so pack them empty and fill them after the checkpoint. Sharp items such as scissors and razors are usually not permitted in the cabin, and spare lithium batteries must travel in your hand luggage rather than a checked bag. Rules vary by country, so check your departure airport.
Is a travel neck pillow worth packing for a long flight?
Often not. Flying communities are split on them, and the recurring complaints are bulk, an awkward shape and a need to keep them uncompressed. A window seat gives you a wall to lean on, and a flat layer or a rolled jacket can fill the gap between neck and headrest. If you already own one and know it works for you, bring it and pack it loose. If you have never tried it, borrow one before you buy.
What is the best size for a long haul comfort kit?
Aim for a pouch that fits inside your personal item without crushing anything, roughly the size of a small wash bag. If your airline counts the kit as a second personal item, the limit is usually around 40 by 30 by 20 centimetres, but check your own airline. Keep it under about 1.5 kilograms so the total weight of your hand luggage stays within the airline limit.
Should I bring different comfort items in business or first class?
Yes, the kit gets smaller as the cabin does work for you. In first and business class you already have a mattress, a duvet, a larger seat and a screen, so earplugs, a charger and a light layer are usually enough. In economy you are supplying your own bedding, ear and eye protection, hydration and power. The packing system, the pouch and where it lives stay identical in every class.
Conclusion
Start with your booking, not your bag. Flight time, seat, cabin and layover tell you which of the sleep, warmth, hydration, health and device items the trip actually deserves, and everything else stays on the shelf at home.
Then put those items in one labelled pouch, pack it in the order you will use it, and keep it within reach for the whole flight. Test the kit on the floor a few days before you leave, and your next long haul will feel completely different.