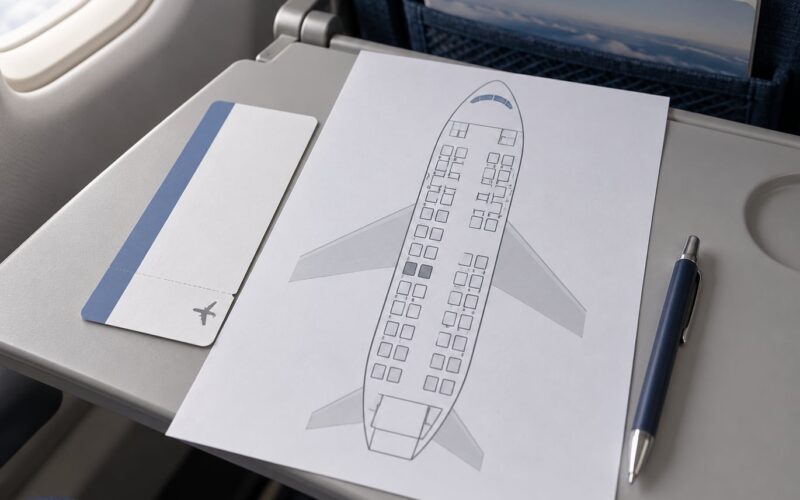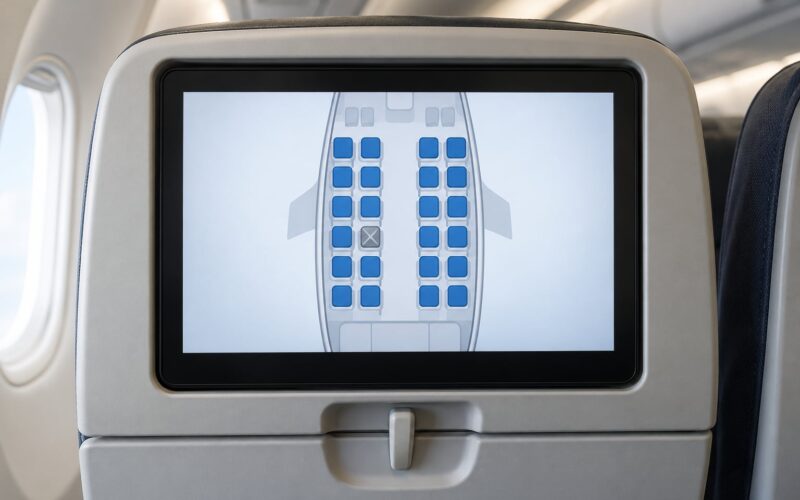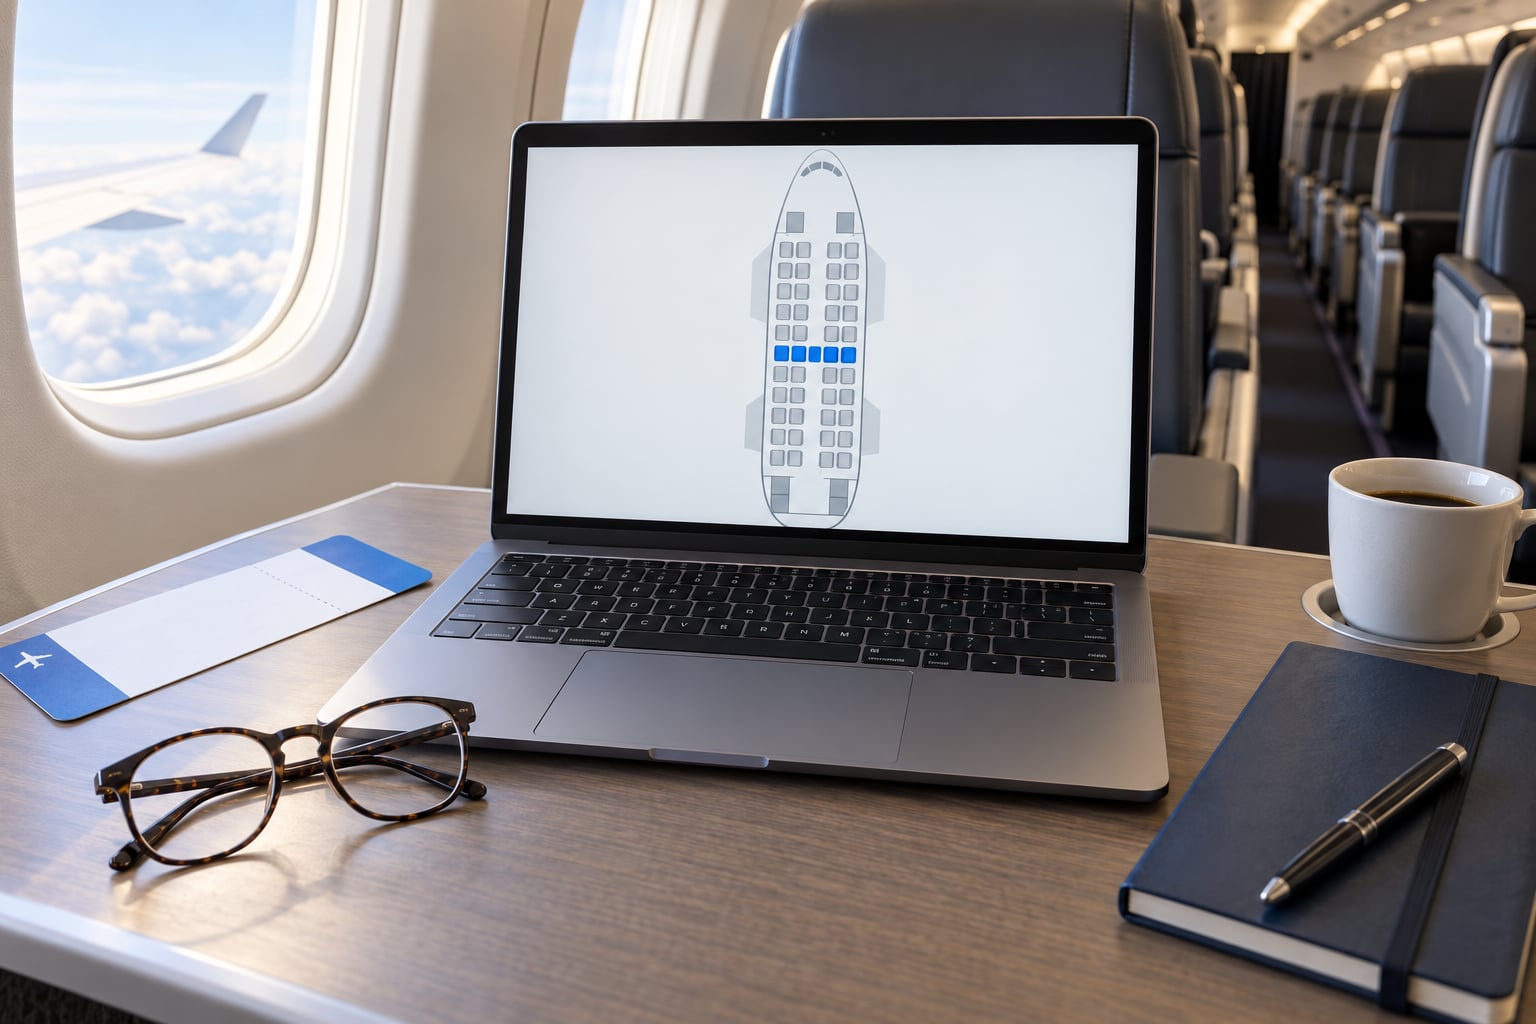
How to use a seat map to find extra legroom: find the rows with no seat in front of them. A seat map is the top-down cabin diagram your airline shows during seat selection, and the two labels that matter are the bulkhead row (nothing ahead of it) and the exit row (the take-off zone in front of the door). On a typical narrowbody that is three to six inches more knee room than the row behind it, and finding it takes about two minutes once you know which aircraft you are on.
Standard economy pitch sits somewhere around 28 to 32 inches, seat-back to seat-back. If you are over roughly six feet tall, or you are on anything longer than four hours, that difference is the whole ballgame. The catch is that seat maps are drawn per aircraft, not per airline, so the map you find by searching your airline and route is often a generic guess that does not match the jet you actually board.
I have read enough seat maps to know that the label alone proves very little. Airlines brand rows as extra legroom, preferred, or front of cabin, and the delivered pitch often does not match the marketing. The method below is about measuring and checking, not trusting a color.
Table of Contents
- What You Need
- Step-by-Step: How to Use a Seat Map to Find Extra Legroom
- How to Use a Seat Map to Find Extra Legroom: Start With the Right Aircraft
- How to Use a Seat Map to Find Extra Legroom: Compare Pitch, Width, and Position
- How to Use a Seat Map to Find Extra Legroom: Check Operational Trade-Offs
- How to Use a Seat Map to Find Extra Legroom: What Each Extra-Legroom Seat Type Gives You
- How to Use a Seat Map to Find Extra Legroom: Seats to Skip and Seats to Chase
- Common Mistakes
- Frequently Asked Questions
- Which seats are extra legroom seats?
- Why avoid seat 11A on a plane?
- What is the 3 seat economy trick?
- Is there a replacement for SeatGuru?
- How do I know if a seat has extra legroom before I book?
- Conclusion
What You Need
You need the flight number, the aircraft type and variant, and access to a live seat map. That is the minimum. Anything more makes the job easier.
- Your flight number and date. This is what pins the seat map to one specific aircraft instead of a whole route.
- The aircraft type and variant. A Boeing 737-800 is not a complete description. The same type flies in different cabin layouts, and traveler forums are full of identical model numbers with visibly different legroom.
- A live seat map. Use the seat selection screen in the airline’s booking flow, the same screen in the airline app, or the online check-in page. All three are better than a generic chart, and the check-in page is the most accurate of the three because it is tied to the actual tail number.
- A variant or seat-quality tool. SeatGuru for written seat notes, AeroLOPA for layout variants, ExpertFlyer for live availability alerts, plus SeatCompare.ai and SeatMaps as alternatives. I have leaned on these to cross-check pitch figures rather than to pick the seat.
- Pitch and width definitions in your head. Pitch is the distance from your seat-back to the seat-back ahead. Width is armrest to armrest. They are unrelated numbers, and the seat map never prints either one.
- The fare rules. Know whether your ticket includes free seat selection, whether basic economy hides the map entirely, and whether a paid selection survives an equipment change. These rules vary by airline and by fare class and change often, so read yours on the airline’s own page.
Nothing here requires a membership or a paid database. The one thing you cannot skip is the flight number.
Step-by-Step: How to Use a Seat Map to Find Extra Legroom
How to Use a Seat Map to Find Extra Legroom: Start With the Right Aircraft
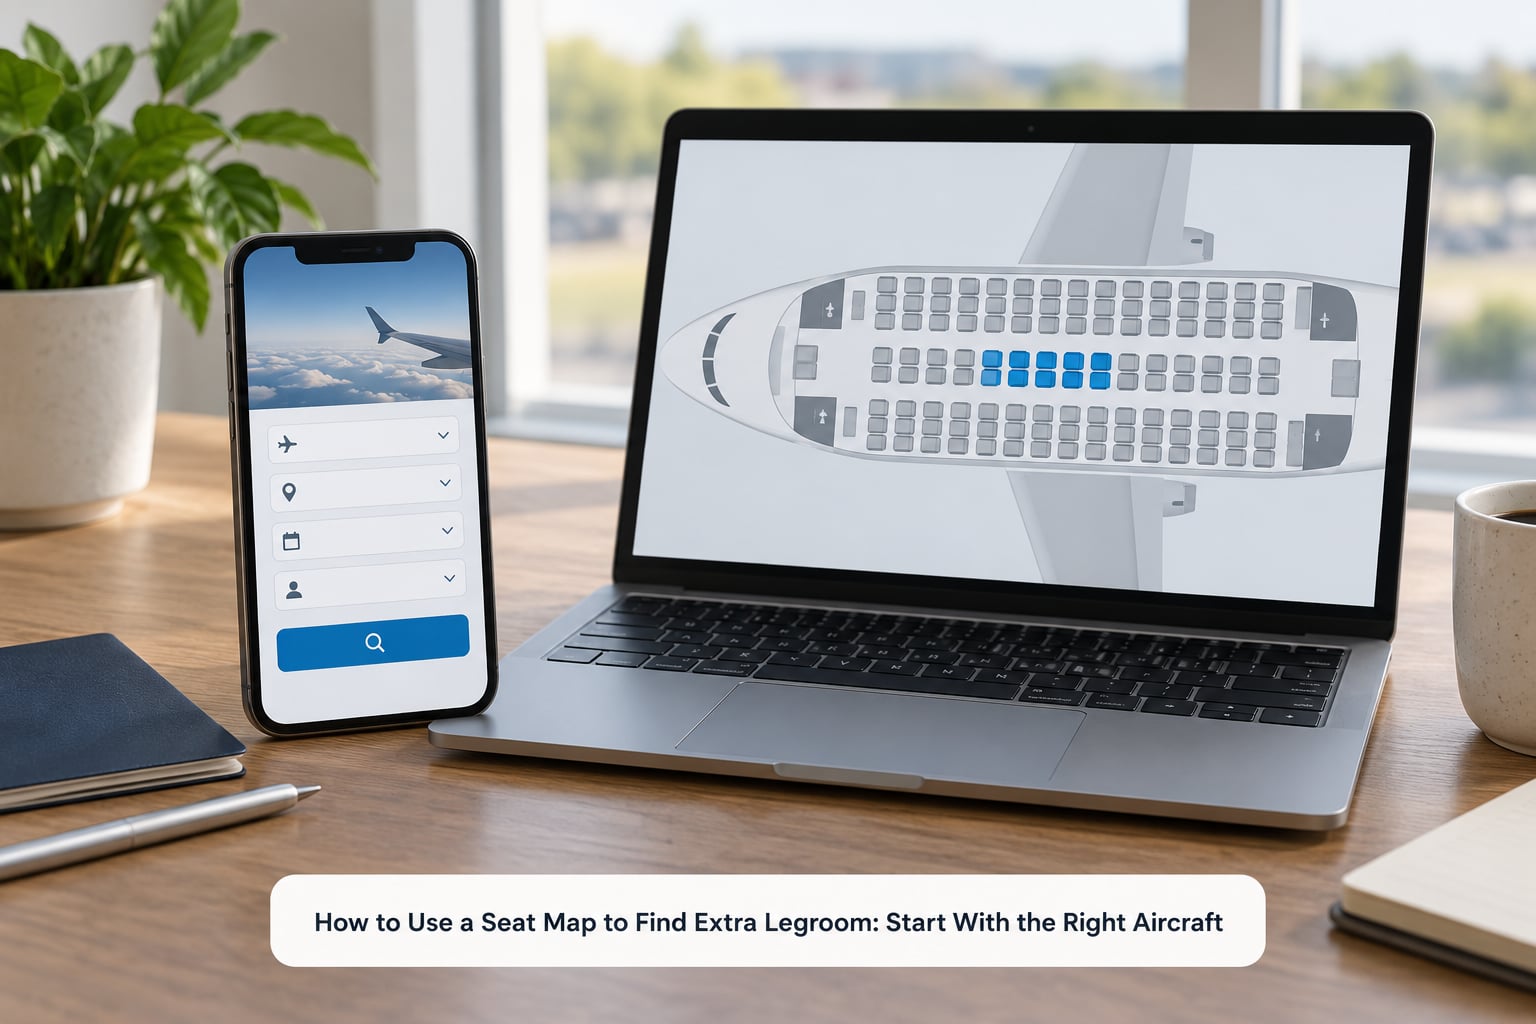
Search by flight number first. This single habit removes most of the wrong-seat mistakes, because a flight-number search pins the map to one aircraft on one date, while an airline-plus-route search returns a representative layout.
- Find the flight number and date. Read it off your confirmation, not off your memory of the route.
- Confirm the aircraft type and check for a variant. The variant is the cabin layout and equipment list, and it decides how many rows there are, where the exits fall, and which rows exist at all. Search results and check-in screens both display it once you know to look.
- Open the live seat map, not a static chart. The seat selection screen during booking is good. The check-in screen 24 hours before departure is better, because it is generated from the aircraft you are boarding.
- Note when a change notice appears. If the booking shows an equipment change, treat everything below as provisional until you recheck, because a swap can move the row you picked or remove it entirely.
You worked it correctly when the row count on your map matches the row count a traveler describes for that specific flight. When the numbers disagree, you are looking at a different variant.
How to Use a Seat Map to Find Extra Legroom: Compare Pitch, Width, and Position
With the right map open, read it in a fixed order: service icons first, then doors, then rows, then colors. Working in the same sequence every time is what stops you from picking a row with a lovely pitch and an unusable tray table.
- Locate the galley and lavatory icons. They mark where the cabin changes function. The first passenger row behind a galley is the bulkhead row, and the row directly ahead of a lavatory is the worst seat in that cabin.
- Locate every emergency exit symbol. Doors divide the cabin into zones, and the rows beside each door are the exit rows. On many narrowbodies there are two over-wing exits, and the rows around each one are legroom candidates. Do not assume the same door layout on every aircraft. Row 11 is common, but the skip to row 12 is not universal.
- Identify the kinds of extra-legroom seat. Bulkhead or first row, exit row, airline-designated preferred row, and any row where the seat ahead has been removed or repositioned, which the map shows as a gap in the row. The last row of the cabin is the awkward exception: it can carry a little extra space, but it also has the hardest headrest in front of you and usually no recline, so treat it as a trade rather than a win.
- Decode the color and status states. A workable convention is green or plain for available and unrestricted, a different shade for available with a caution or fee attached, and gray or dark for occupied, blocked, or unavailable. The airline’s own legend wins over any convention you read elsewhere.
- Read the row labels, then verify the pitch. A label is a marketing claim. Cross-check it against a pitch figure from a seat tool for that aircraft variant, and remember that the pitch difference between an exit row and the row behind it can run from a few inches to as much as five on a well-designed layout.
How to Use a Seat Map to Find Extra Legroom: Check Operational Trade-Offs
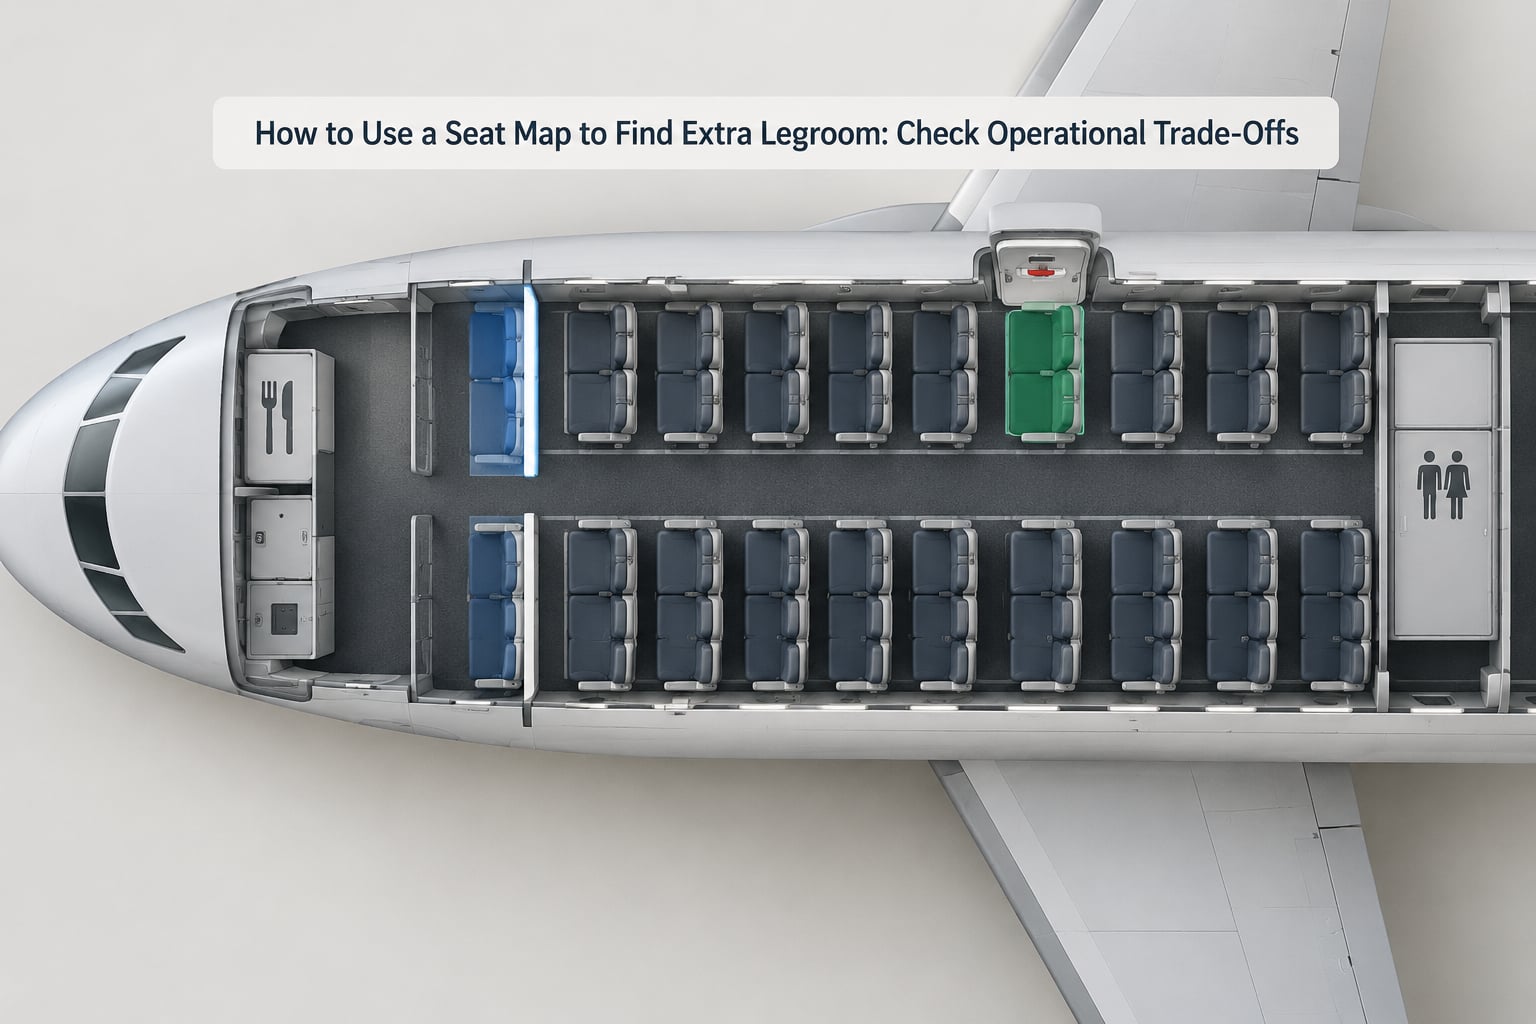
Legroom is never free of a catch, and the map only shows you half of it. This is the step where a good seat often becomes a bad one.
- Check the armrest and recline restrictions on that row. Bulkhead and exit rows frequently have a fixed armrest in the middle position, which removes the ability to widen the seat, and rows immediately ahead of an exit often have a non-reclining seatback so the row behind can exit safely. Both restrictions usually appear as an icon on the map or a note during selection.
- Check under-seat storage. Exit rows and last rows lose it, because the floor is cut away. A seat with no under-seat space means your bag rides in the bin for the entire flight.
- Check galley and lavatory noise. The rows within a few seats of a service unit carry crew noise, cart noise, and queueing passengers. On a red-eye this is often worse than a slightly narrower seat.
- Check bassinet rows. Bulkhead rows are commonly fitted with attachment points for bassinets on long-haul aircraft and are frequently blocked for that reason. A blocked seat with no explanation is usually a crew seat, a bassinet fitting, or a seat held for a connecting party, and those clear late.
- Check boarding order. Bulkhead and exit rows are frequently boarded last. A cabin that fills at the front means walking past a line of people with bags, which changes your own boarding time more than the legroom does.
- Recheck at the 24-hour check-in window. This is the highest-value second look. Check-in opens roughly 24 hours before departure, blocked seats are frequently released at that moment, and the check-in map reflects the assigned aircraft. If your seat disappeared, this is when it usually comes back.
One more operational check matters more than any of them: aircraft swaps and reconfigured cabins. If the aircraft changes after you booked, the seat number you paid for may not exist on the new layout. Check your confirmation for the fee terms, because what happens to a paid selection after an equipment change is an airline policy, not a fixed rule.
You have it right when a stranger could look at your map, see the same row you chose, and correctly name why you chose it, including what it costs you.
How to Use a Seat Map to Find Extra Legroom: What Each Extra-Legroom Seat Type Gives You
Extra legroom comes in a few flavors, and they trade differently. Here is the comparison, with typical figures rather than airline promises, because airline promises vary and the maps do not.
| Seat type | Typical pitch | Typical width | Main restriction | Usually costs extra? |
|---|---|---|---|---|
| Bulkhead or first row | Roughly 34 to 40 inches | Standard economy width | No under-seat storage, fixed armrest, bassinet fittings, limited recline | Usually, and often the priciest seat on the map |
| Exit row | Roughly 33 to 38 inches | Standard economy width, sometimes narrower | Non-reclining seatback, no under-seat storage, fixed armrest, safety eligibility rules | Usually |
| Airline-designated preferred row | About 32 to 35 inches | Standard to slightly wide | Whatever the airline’s branding implies, which is not standardized | Often bundled into a fare class |
| Row where the seat ahead is removed | Roughly 34 to 40 inches | Standard economy width | No under-seat storage, bassinet fittings, limited recline | Often free on some carriers |
| Row directly ahead of an exit | Standard pitch | Standard economy width | Seatback may not recline | No |
| Standard economy | Roughly 28 to 32 inches | Armrest to armrest varies by operator | Nothing worth mentioning | Free on many carriers, paid on others |
Two rows in that table decide whether the seat works for you. Pitch is what your knees feel. Width is what your shoulders and your laptop bag feel, and a wide seat with tight pitch still leaves you folding your legs for three hours. Travelers doing exactly this math keep landing on the same conclusion: check the pitch figure for the specific variant, because a row that looks generous on a chart can be standard on the frame you are flying.
How to Use a Seat Map to Find Extra Legroom: Seats to Skip and Seats to Chase
Some rows look attractive on a map and are bad in practice. The ones I cross off first:
- The last row of the cabin. The person behind you has no row behind them and no pitch limit, so prepare for a hard headrest for the whole flight.
- Rows immediately ahead of an emergency exit. Frequently marked as non-reclining, which is a real cost on an overnight.
- Rows directly behind or in front of a lavatory. Queue noise, door noise, and an unpredictable line of people standing.
- Rows at the very front of a cabin that has a preferred section. A premium label with standard pitch is a common disappointment, and the only defense is checking the figure.
- Seats shown as blocked with no label. Often crew positions and bassinet fittings, and they frequently clear at check-in.
- Window seats in the misaligned rows. Some rows sit over a structural section where the window has been moved or omitted, so the view is a wall or a shade.
And the ones worth chasing when your priority is legroom rather than a view or a quick exit: the bulkhead row, the exit rows, and any row the airline itself marks as preferred. Everything else is a preference call.
There is one more trick that travelers describe often: take an aisle seat in the middle column of a three-seat block. The middle seat is the one travelers skip, so an aisle seat there is statistically more likely to have an empty neighbour than an aisle seat on the cabin wall. You still get the legroom of the row you picked, plus an armrest to lean on and room to stretch into.
Common Mistakes
Mistake 1: Assuming every map for your airline is the same. The airline is not the variable, the aircraft is. One airline operates several variants of the same model, and those variants have different row counts and different exit positions. Fix: search by flight number, then confirm the variant before you read a single row label.
Mistake 2: Confusing seat width with legroom. Width is armrest to armrest and legroom is pitch. They are separate numbers and they change independently across cabins. Fix: judge legroom by pitch alone, and judge comfort by pitch and width together.
Mistake 3: Ignoring exit-row eligibility. Airlines screen for it, and travelers who book an exit row without meeting the requirement can be moved at the gate. Fix: read the airline’s stated conditions for exit rows before selecting one, and never book one for a small child in the adjacent seat if the rules prohibit it.
Mistake 4: Choosing on price or color alone. A dark shade on the map can mean occupied, blocked, or restricted rather than better. A cheap seat in row 30 is not a bargain if you spend four hours folded. Fix: pick by zone and row type first, then look at what the color means in that airline’s legend.
Mistake 5: Trusting the seat map over live inventory. The map and the upgrade list are two different systems showing two different numbers of available seats. Fix: treat the map as the layout and the check-in screen as the truth, and never read availability as final before check-in.
Mistake 6: Not rechecking after a change. Equipment changes, cabin reconfigurations, and blocked-seat releases all happen after you book. Fix: put three checkpoints in your calendar. One when the boarding pass appears, one at 72 hours out to confirm the aircraft is unchanged, and one at the 24-hour check-in window to see what freed up.
Mistake 7: Believing the extra-legroom label. Traveler forums are full of reports that the promised extra inches were not visibly there. Marketing language is not standardized across carriers, and one carrier advertises up to five extra inches while another cites a 35-inch pitch figure. Fix: verify with an inch figure tied to the aircraft variant.
Frequently Asked Questions
Which seats are extra legroom seats?
Four types. Bulkhead or first rows have nothing in front of them. Exit rows gain space because the seats in the take-off zone ahead of the door are removed or repositioned. Airline-designated preferred rows are branded by the carrier, with no consistent standard. And some layouts drop the seat in front entirely, which shows up as a gap in the row on the map.
Why avoid seat 11A on a plane?
On many narrowbodies the row directly ahead of a forward over-wing exit has a non-reclining seatback so the exit row can be evacuated quickly. A seat like that gives you standard pitch and takes away the ability to lean back, which matters a lot overnight. Check the row in front of every exit symbol on your specific map before you book it.
What is the 3 seat economy trick?
Book an aisle seat in the middle column of a three-seat block. The middle seat is the one most travelers pass up, so an aisle seat there is far more likely to end up with an empty neighbour than an aisle seat on the cabin wall. You keep the legroom of the row you chose and gain an armrest and space to stretch sideways.
Is there a replacement for SeatGuru?
Several. AeroLOPA is the strongest for aircraft variants and cabin layouts, which is exactly what you need when the same model number flies in two configurations. ExpertFlyer is better for live availability alerts. SeatCompare.ai and SeatMaps cover the basics, and the airline’s own check-in map is the most accurate source you have because it comes from the aircraft you are boarding.
How do I know if a seat has extra legroom before I book?
Read the map for structure, not labels. Find the galley icon for the bulkhead row and the door symbols for the exit rows, then confirm the pitch figure for that row against the aircraft variant using a seat map tool. The airline’s label tells you what it wants to sell you; the variant pitch figure tells you what you will actually get.
Conclusion
Start with the aircraft, not the seat. Search your flight number, confirm the variant, open the live seat map, and find the row behind the galley icon and the rows beside the exit doors. Compare the pitch figure for those rows against the standard pitch in that same cabin, then check the restrictions on the row before you pay for it. Confirm it again at the 24-hour check-in window, because that is when the aircraft is confirmed and blocked seats usually come free.